The First 30 Days: How to Keep Nursery Plants Alive After You Bring Them Home
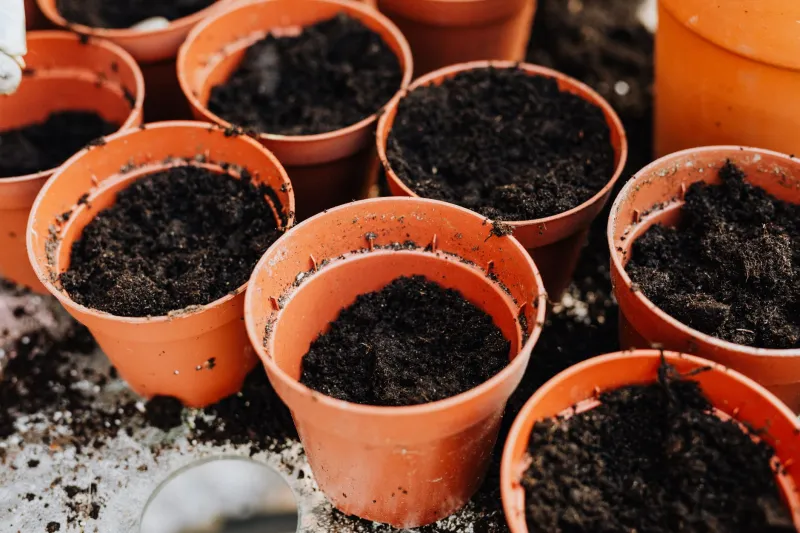
There's a particular kind of gardener heartbreak that happens around this time of year. You spend a Saturday morning at the nursery, pick out something gorgeous — maybe a vine maple, a lavender, or a healthy tomato start — bring it home with the best intentions, tuck it into the ground, and then watch it slowly sulk. The leaves droop. The color fades. A few weeks later, you're wondering what went wrong.
The answer, almost always, is transplant shock. And the good news is that it's almost entirely preventable once you understand what's actually going on.
What Transplant Shock Actually Is
Plants grown in nursery containers live a pretty cushy life. They're watered on a consistent schedule, sheltered from harsh wind, and grown in a lightweight, well-draining potting mix that holds moisture and nutrients in a very controlled way. The roots have grown to fit that container snugly, and the whole system — roots, stems, leaves — has calibrated itself to those specific conditions.
When you pull that plant out of its pot and stick it into your garden bed, everything changes at once. The soil composition is different. The drainage is different. The light exposure, wind exposure, and temperature swings are all different. The roots, which were perfectly adapted to their container environment, suddenly have to navigate heavy clay or rocky ground or competition from nearby plants — often all at the same time.
The plant's response is to pull back. It redirects energy away from new growth and toward basic survival, which is why you see wilting, yellowing, or just a general look of misery even when you're watering regularly.
Here in Kitsap County, we have a few extra wrinkles that make this transition harder than it might be elsewhere.
Why Kitsap's Conditions Add Extra Pressure
Our climate is genuinely beautiful, but it's also pretty specific. We get significant rainfall from fall through spring, followed by a dry stretch in summer that can catch new plantings off guard. Soil conditions vary wildly from one neighborhood to the next — you might have sandy loam near the water and dense glacial clay just a mile inland. And our springs, while mild, can throw cold snaps and heavy rain at plants that have been living in a warm greenhouse for months.
Nursery plants — especially those grown in large regional growing operations — are often acclimated to conditions that don't quite match what they'll face in your backyard. A plant that spent the winter in a climate-controlled greenhouse in the Willamette Valley isn't ready to handle a cold, wet Kitsap April without some adjustment time.
That gap between "where it came from" and "where it's going" is exactly what you need to manage.
The Hardening-Off Process (Yes, Even for Garden Plants)
Most people associate hardening off with vegetable starts — and it absolutely applies there — but the same principle works for shrubs, perennials, and even trees if they've been container-grown in a protected environment.
The idea is simple: you gradually expose the plant to outdoor conditions over a period of one to two weeks before planting it in the ground. Here's a practical approach that works well for Kitsap's spring and early summer weather:
Days 1–3: Set the plant outside in a sheltered spot — somewhere it gets indirect light and is protected from wind. Bring it back inside or under cover in the evening if nighttime temps are dropping below 45°F. Water as you normally would.
Days 4–6: Move it to a spot with morning sun and afternoon shade. Leave it out overnight if temperatures are staying above 45°F. This is when you'll start to see whether the plant is adjusting or struggling.
Days 7–10: Give it full exposure to whatever conditions your planting site offers — including direct sun if that's where it's going. By now, the plant should be standing up well without wilting during the day.
Days 11–14: You're ready to plant. The root system has started adjusting its water uptake, the leaves have toughened up, and the plant has a realistic sense of what its new environment feels like.
This process feels slow when you're excited to get things in the ground, but two weeks of patience can mean the difference between a plant that thrives and one that limps along for a full season before recovering — if it recovers at all.
Soil Prep That Makes the Transition Easier
Even a perfectly hardened-off plant will struggle if it's dropped into inhospitable soil. Before you dig, take a minute to think about what that plant has been growing in versus what it's going into.
Nursery potting mix is typically light and fast-draining. Your garden soil — especially if you're dealing with Kitsap's common clay-heavy ground — holds water much longer and drains more slowly. Roots that were used to drying out between waterings can essentially drown in waterlogged clay.
A simple fix: work a few inches of compost into the planting area before you dig the hole. This improves drainage in clay soils, adds some structure to sandy soils, and creates a middle-ground texture that eases the transition from container mix to native soil. You don't need to go overboard — a 2–3 inch layer worked into the top 8–10 inches of soil is usually enough to make a noticeable difference.
Avoid the temptation to backfill with straight potting mix. It sounds logical, but it can actually create a "container within a container" effect where roots stay confined to that amended pocket instead of spreading outward.
Watering Smarter in the First Month
The most common mistake after planting? Overwatering — especially in spring when Kitsap's rainfall is already doing a lot of the work. New transplants need consistent moisture, but soggy roots are a fast track to root rot and secondary stress.
For the first two to three weeks, check the soil at root level before watering. Stick your finger down two inches — if it's still moist, wait. If it's dry, water deeply and slowly so moisture reaches the roots rather than running off the surface.
If you're planting in summer during our dry stretch, you'll need to water more frequently, but the same principle applies: deep and infrequent is better than shallow and daily.
A layer of mulch — 2 to 3 inches of bark, wood chips, or straw kept a couple inches away from the stem — does a lot of heavy lifting here. It moderates soil temperature, slows evaporation, and keeps roots from experiencing the kind of dramatic wet-dry cycles that stress new transplants.
Give It Time (And Lower Your Expectations Temporarily)
Here's the thing nobody tells you when you're buying plants: the first season after transplanting is mostly about roots, not tops. A plant that looks like it's just sitting there, not doing much, is often putting enormous energy into establishing its root system underground. That's a good thing, even when it doesn't look exciting.
If your new planting makes it through the first summer without dying, consider that a success. By the following spring, with a stronger root system and a full season of local acclimation behind it, you'll likely see dramatically more growth and vigor.
At Kitsap Country Nursery, we want every plant you take home to succeed — not just survive the car ride. If you're ever unsure about what a specific plant needs during its transition, stop in and ask. We know the plants we sell, and we know Kitsap's quirks. That combination is exactly what we're here for.