Turn Kitsap's Rainy Season Into Your Garden's Secret Weapon with Home Composting
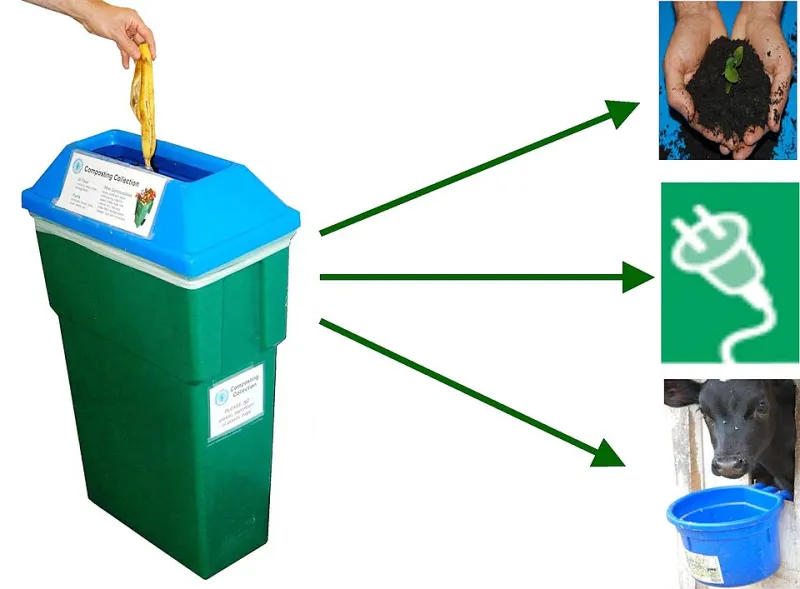
Photo: USEPA Environmental-Protection-Agency, Public domain, via Wikimedia Commons
People who move here from drier parts of the country often assume composting in the Pacific Northwest must be a soggy nightmare. And honestly, if you set up your pile the wrong way, it can be. But here's the thing—that relentless Kitsap rain that runs from October through May? It's actually one of the best composting assets you have, if you know how to work with it.
Moisture is essential to decomposition. The microorganisms, fungi, and invertebrates that break down organic material need a consistently damp environment to do their work. Most composters in drier climates spend a lot of energy hauling water to their piles. We don't have that problem. Our challenge is managing excess moisture and keeping airflow moving—which is very solvable.
Let's build something that works.
Understanding What Compost Actually Needs
Before you pick a bin or toss your first apple core, it helps to understand the basics. Compost is essentially managed decomposition. You're creating an environment where microbes can break down organic material efficiently. Four things drive the process:
- Carbon-rich materials ("browns") — dry leaves, cardboard, straw, wood chips, paper
- Nitrogen-rich materials ("greens") — food scraps, fresh grass clippings, coffee grounds, plant trimmings
- Moisture — the pile should feel like a wrung-out sponge
- Oxygen — turning or aerating keeps things moving and prevents anaerobic (smelly) breakdown
In Kitsap County, the ratio that trips people up most often is carbon to nitrogen. The standard guidance is roughly 3:1 browns to greens by volume. In a wet climate, you actually want to lean a little heavier on the browns because they absorb excess moisture and keep the pile from going anaerobic and rank.
Choosing the Right Setup for a Wet Climate
Not all compost systems are equal in a rainy environment. Here's a quick rundown of what works well here:
Covered tumbler bins are a great starting point for beginners. The enclosed design keeps rain out and heat in, and the tumbling action provides easy aeration. They're neater, faster, and easier to manage than open piles. The downside is limited volume—tumblers fill up fast if you have a large yard.
Three-bin wooden systems are the workhorse choice for serious composters with larger properties. Having three compartments lets you maintain an active pile, a maturing pile, and a finished pile simultaneously. A simple lean-to roof over the bins keeps out the worst of the rain while still allowing airflow. This is what a lot of experienced Kitsap gardeners end up gravitating toward.
Wire mesh bins are cheap and easy to build but offer minimal rain protection. If you go this route, position it under a tree canopy for partial cover, or add a simple tarp with bungee cords that you can remove when you need to turn the pile.
Whatever system you choose, placement matters. A spot with partial shade is ideal—full shade keeps the pile too cool and wet, while full sun in summer can dry it out during our brief dry season.
What to Throw In (And What to Skip)
Kitchen scraps are composting gold. Vegetable peels, fruit cores, coffee grounds, tea bags (remove staples), eggshells, and leftover cooked grains all break down well. What you want to avoid is anything that attracts pests or creates problems: meat, fish, dairy, and oily foods should stay out of a backyard system.
For yard waste, Kitsap County gives us plenty to work with year-round. Fall leaf drop from big-leaf maples and alders is basically free carbon material. Spent vegetable plants, deadheaded flowers, and grass clippings (in thin layers, not thick clumps) all compost beautifully. Native ferns break down slowly but add good structure.
One local tip: coffee grounds are abundant here—no surprise—and they're genuinely excellent for compost. They're technically a "green" despite being brown in color, and they're slightly acidic, which suits the pH our native soil already tends toward. Many local coffee shops will give away spent grounds for free if you ask.
Troubleshooting the Wet-Climate Problems
Pile is too soggy and smells bad. This is the most common Kitsap composting complaint. The fix: add a significant amount of dry carbon material—a few armloads of dry leaves or torn cardboard—and turn the pile to introduce oxygen. Going forward, layer browns more aggressively between every addition of food scraps.
Nothing seems to be decomposing. Usually a temperature or moisture issue. In winter, decomposition slows dramatically in cold, wet conditions—that's normal. You can insulate the pile with straw bales around the outside to retain heat. If it's summer and things are still stalled, the pile may actually be too dry (yes, this happens during July and August here).
Pile is attracting rodents. Avoid adding meat, dairy, or cooked foods. Bury fresh food scraps in the center of the pile rather than leaving them on top. A bin with a solid bottom and secure lid helps significantly.
Finished compost looks too chunky. Screen it through a half-inch wire mesh before using it in garden beds. The coarser material goes back into the active pile for another round.
What Finished Compost Does for Your Garden
After three to six months (faster in warm weather, slower in winter), your kitchen scraps and yard trimmings transform into something remarkable—dark, crumbly, earthy-smelling material that does more for your garden than almost any purchased amendment.
Finished compost improves soil structure in both our heavy clay soils and our sandier areas near the water. It feeds the microbial life that makes nutrients available to plant roots. It buffers pH swings. It retains moisture in summer and improves drainage in winter. And it does all of this slowly and sustainably, without the nutrient spikes and crashes that synthetic fertilizers can cause.
For native plant gardens especially, compost is a perfect amendment—it builds the kind of living soil structure that plants like sword ferns, red flowering currant, and native sedges evolved alongside.
Getting Started This Week
You don't need a fancy setup to begin. A simple wire bin or even a designated corner of the yard will do while you figure out your system. Start collecting kitchen scraps in a small countertop container, save your dry leaves in a bag through fall, and layer them together.
The rainy season isn't your enemy here—it's doing half the work for you. Come spring, when you're amending your beds and getting ready to plant, you'll have something genuinely valuable waiting. And it cost you almost nothing to make it.